How I Use Flipbooks to Move Students from Sounds to Conversation

If you're like most school-based SLPs, you’re always looking for tools that are versatile, engaging, and time-saving. That’s why I created the Phonology Flipbooks, a go-to resource that helps move students from phoneme isolation production all the way to conversational carryover.
In this post, I’m sharing exactly how I use flipbooks to scaffold articulation, with a full step-by-step case example of one student’s journey. Spoiler: it only takes one flipbook to target every level of the hierarchy.
Let’s dive in.
Why Flipbooks Are in My Toolkit
Here’s why I keep flipbooks within arm’s reach for nearly every session:
All-in-one format: Target isolation to conversation without switching materials.
Consistent structure: Kids love the predictability. You’ll love the progress.
Minimal prep: Print, assemble, and use year after year.
Portable and durable: Great for push-in, pull-out, and home practice.
Visually supportive: Ideal for early learners and students with limited attention spans.
👉 Check out my go-to flipbook bundle here
Now let’s talk about how to put them into practice.
The Hierarchy (And Why It Matters)
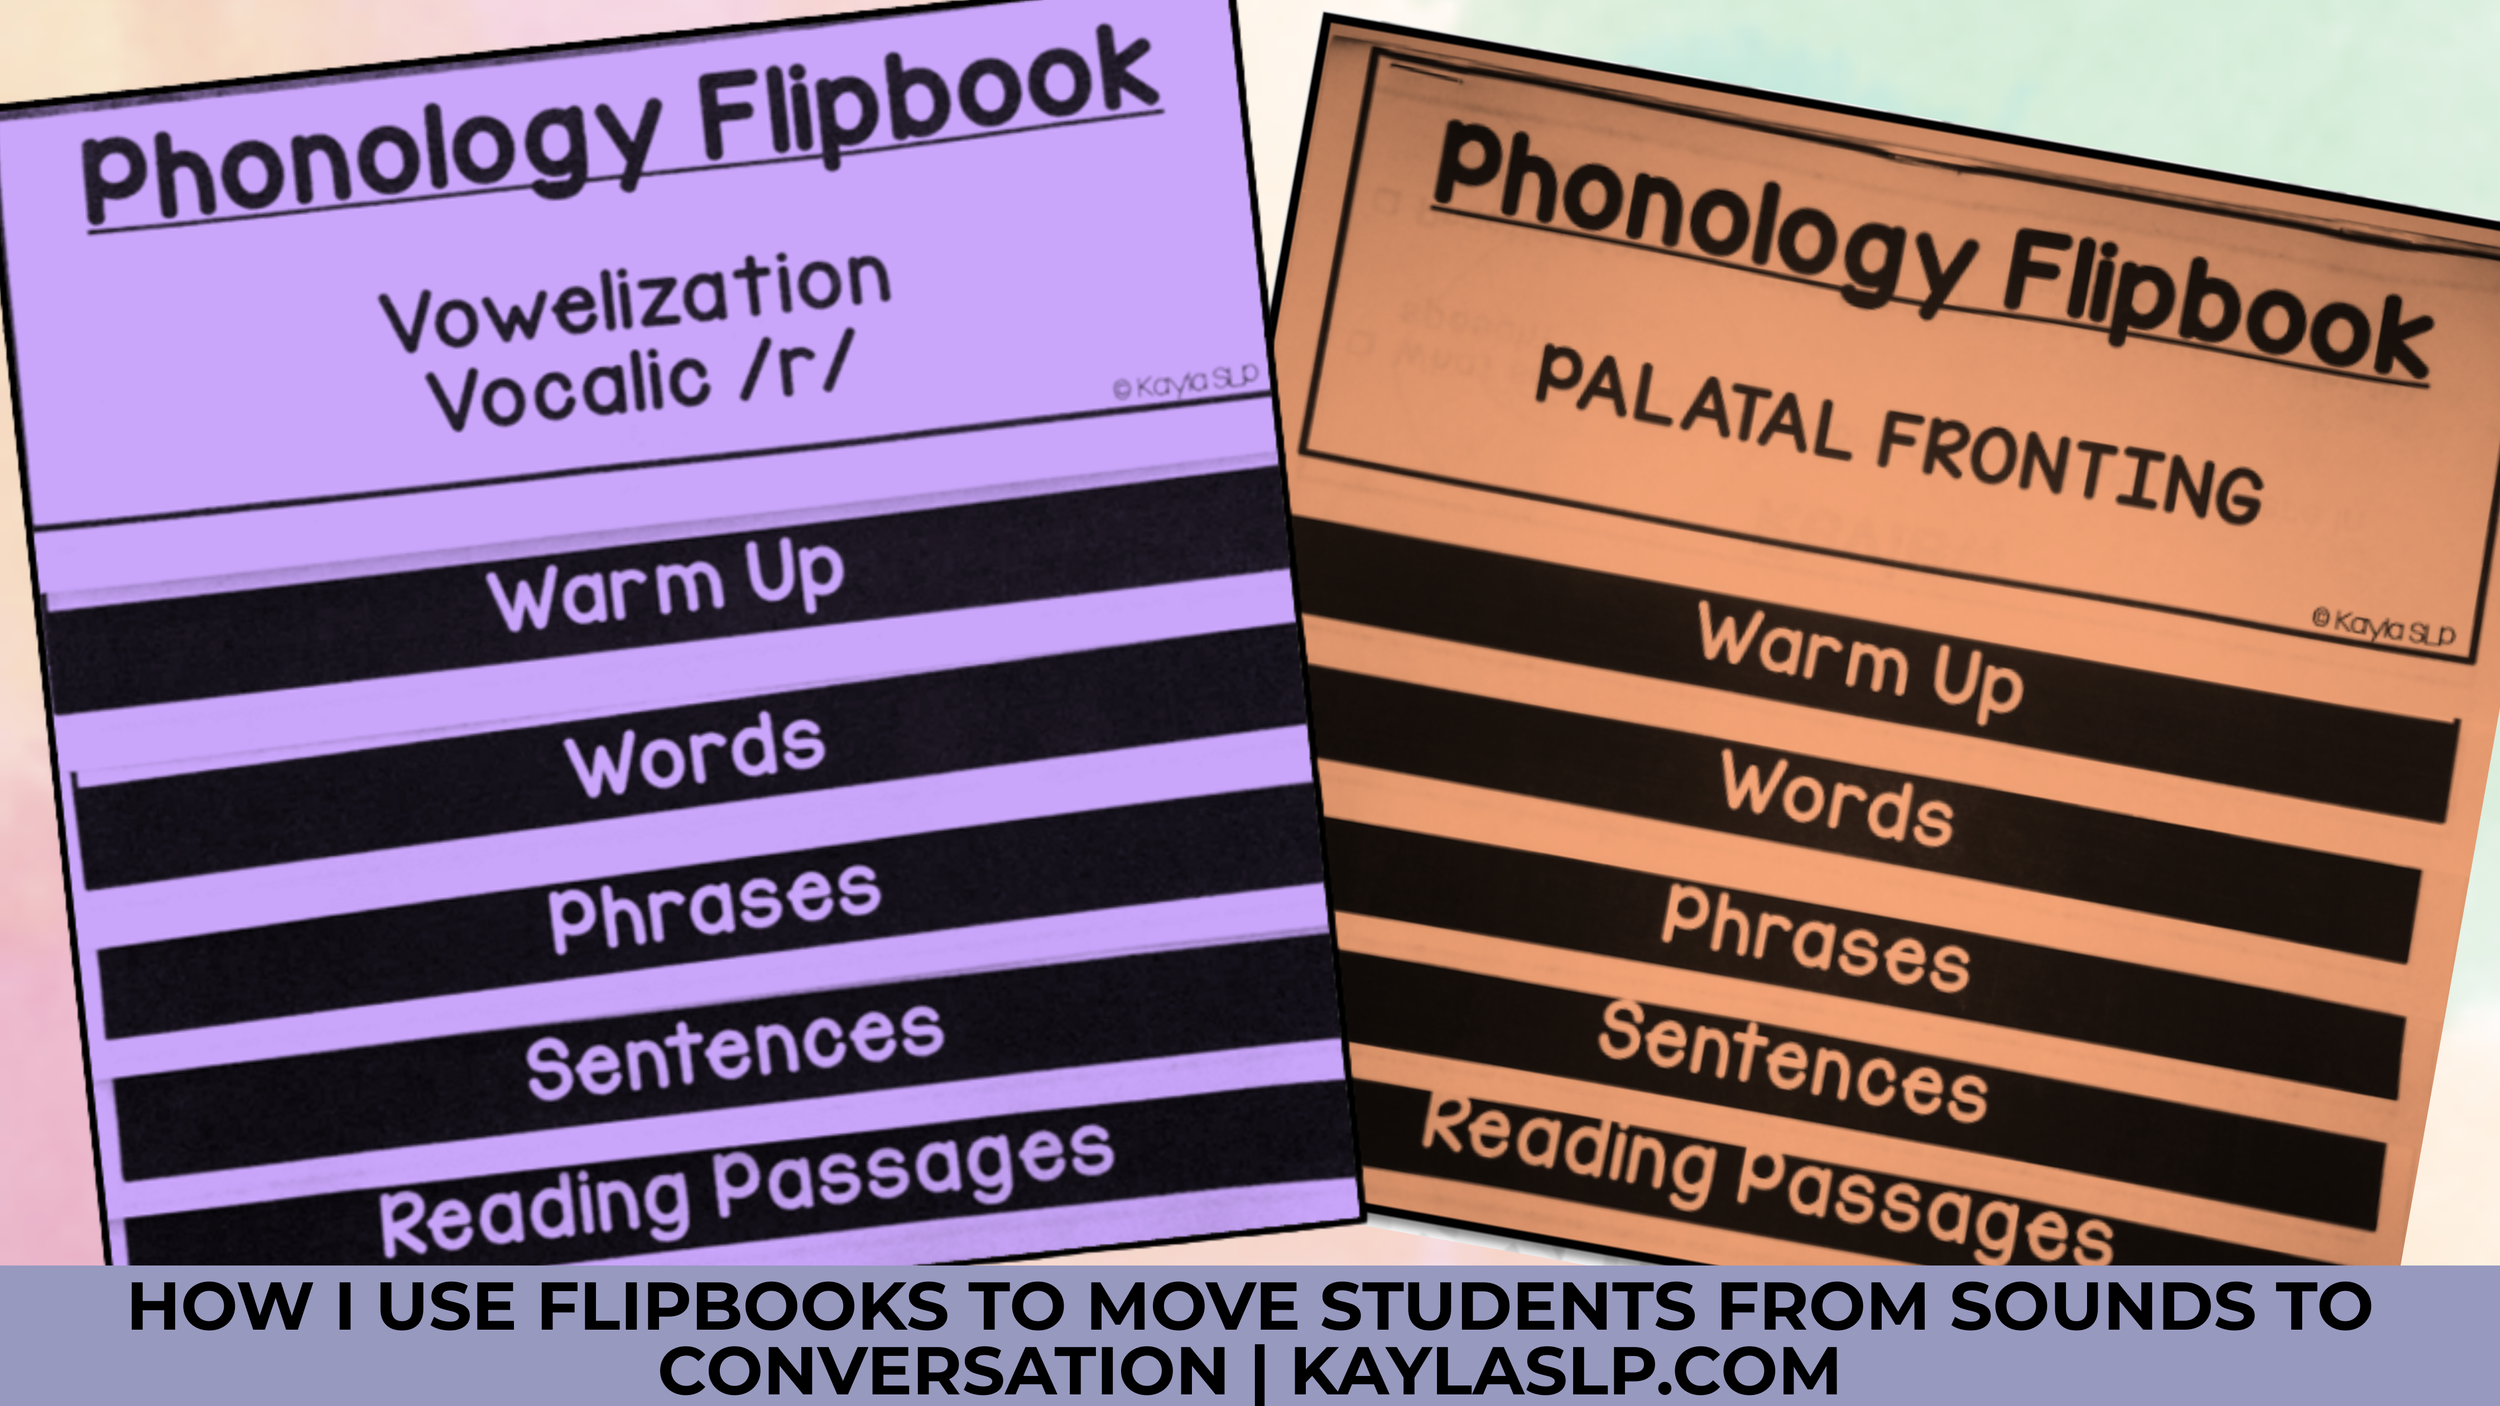
Before we look at the case example, let’s revisit the typical hierarchy for speech-sound production. These are the levels we aim to move through:
Isolation
Syllables
Words
Phrases
Sentences
Reading Passages
Conversation
Not every student follows a perfectly linear path, but understanding this flow helps us know where to start, how to scaffold, and when to advance.
With the Phonology Flips Flipbook Bundle, I can target every single level without grabbing new materials each time. Let me show you how.
Let’s see an example.
Let’s call my student Emma. Emma is a 7-year-old who exhibits fronting of /k,g/. She’s bright, motivated, and loves coming to speech. Here’s how we used one flipbook over several sessions to support her progress from isolation to conversation, using the fronting of /k,g/ flipbook.
✅ Isolation & Syllables
Goal: Produce /k,g/ in isolation and simple syllables with 80% accuracy.
How We Used the Flipbook:
Opened to the warm-up/syllables section (pages discuss placement of articulators for sounds in isolation, as well as CV syllables).
Practiced each syllable 5x using placement cues.
Tracked correct trials with bingo chips and a 50 trials sheet.
✅ Words
Goal: Produce /k,g/ in all the initial position of single words with 80% accuracy.
How We Used the Flipbook:
Flipped to the word level section.
Had Emma name the picture, then repeat after a model.
Played a simple “cover-the-word” game with bingo chips.
✅ Phrases
Goal: Use /k,g/ words in short phrases with 80% accuracy.
How We Used the Flipbook:
Each picture word includes 2, 3, and 4 word phrases that build on each other
Emma repeated each phrase after me, or read them on her own.
We added movement, like touching her throat every time she heard the /k,g/ sound.
✅ Sentences
Goal: Produce /k,g/ accurately in sentences with 80% accuracy.
How We Used the Flipbook:
Used Q & A style sentences to practice target sounds.
🔹 “Where is the big, silly cat?”
🔹 “The big, silly cat is hiding under the couch.”Practiced using sentence starters + student-generated endings.
Played a roll-and-say game: Emma rolled a die, chose that many flipbook sentences, and either read the sentence or made her own.
✅ Reading Passages
Goal: Maintain /k,g/ accuracy in reading passages with 80% accuracy.
How We Used the Flipbook:
Chose one reading passage from the flipbook and read it aloud.
Highlighted target sounds as we came across them.
Asked and answered questions from the passage.
Emma practiced self-monitoring /k,g/.
Add-on idea: Let students record themselves and rate their own speech for self-awareness.
✅ Spontaneous Conversation
Goal: Maintain /k,g/ in everyday conversation with 80% accuracy.
How We Used the Flipbook:
Only used the flipbook as needed, such as a warm-up or quick booster.
Used some of the topics on the final page as conversation starters.
Focused on generalization: reading aloud, talking with peers, even leaving messages for her teacher.
Bonus: We used the flipbook at home, too. Her family appreciated the consistent visuals and structure.
Key Features That Support Progress
Here’s what makes the Phonology Flips Flipbook Bundle so effective:
Developmentally sequenced content: Each flipbook walks through the articulation hierarchy, so there’s no guesswork.
Visual cues for support: Clear, engaging visuals help students self-monitor and increase independence.
Built-in repetition and variety: Repetitive practice with slight variation keeps things fresh and functional.
Easy differentiation: Use one flipbook across a range of levels in the same group.
No-prep, no-waste format: Once assembled, these flipbooks last all year (and possibly beyond)!
Tips for Getting the Most Out of Your Flipbooks
Make these tools work even harder for you with a few therapist-tested strategies:
Laminate + bind for durability: Use a binding machine or metal rings to make them last for years.
Incorporate movement: Stand, hop, clap, or stretch after each target word to boost engagement.
Pair with mirrors: Give students a mirror to check tongue and lip placement while using the flipbook.
Send a copy home: Print a copy of the flipbook or snap a picture of a few pages for parents to use for home practice.
Final Thoughts: Less Prep, More Progress
When therapy materials do exactly what you need without extra planning? That’s a win.
By using one Phonology Flips Flipbook to move a student from sounds to conversation, you streamline your sessions and increase student success.
📌 One flipbook = all levels.
📌 One resource = less prep, more progress.
Ready to Try It?
Explore the Phonology Flips Flipbook Bundle and watch your articulation students build confidence, one flip at a time.

Love this post?
Pin it for later!
Save this blog post to your favorite Pinterest board so you can come back to it anytime.